8 Ways to Use Coloured Dot Grid Papers in Your Bullet Journal and Beyond!


Ok I probably say this every time, but I think the new dot grid pads have been my most eagerly-awaited release from Nikki’s Supply Store ever! If you follow me on Instagram, you might’ve clocked that I’m a teensy bit obsessed with autumn so this new set couldn’t be more perfect for me! I use Nikki’s pastel dot grid pads all the time in my bullet journal and my most-used colour is unarguably “perfect peach” as it just goes so well with kraft paper. I was so excited to have some similar tones to play with.

I can’t believe this was a whole year ago! Check out my pastel dot grid pad blog post here
Conveniently, the new dot grid pads came out just in time to include them in my September bullet journal set up! While the temperatures in Cambridgeshire are remaining firmly in the mid-20s, I fully embraced Autumn Mode and incorporated all three colours from the autumnal set, as well as Nikki’s autumn leaves washi tapes.

Autumn leaves washi tape - white
As you may have seen in my June blog post, I’ve recently moved into my first Neapolitan journal. I’m attempting to keep each month to a coloured section, and deliberately orchestrated it so that September would be on Kraft paper, and October on black paper.

Archer & Olive Neapolitan journals have a mix of white, kraft and blackout dot grid paper
The white dot grid on “red fox” put me in mind of toadstools and I leaned into it! I used white dot grid paper for the stalks, although on reflection I think it would have looked better to stick with the red, orange yellow colour palette. Live and learn!

Oh, hello September!
I used the same style of lettering that I used at the start of my journal. Lettering and I don’t always see eye to eye, and this method is very forgiving. It doesn’t have to be neat or consistent, and you can re-draw each letter as many times as you want without having to erase or cover up mistakes. Yep, it takes a while, but pop a podcast or YouTube on and you’re good to go!

Name a more delicious colour combo, I’ll wait.
I tend to stick to the same layouts every month and usually do a one-page calendar list on the left-hand of my cover page. It’s served me well until now, but August’s was a bit cramped so I decided to try a double page calendar spread for September. I’m not really a “quote page” person (see previous point about lettering!) and decided to use the left-hand page to record a daily gratitude. It took me a few attempts to write “gratitude log” satisfactorily, so being able to write it out on the turmeric dot grid pad was really helpful as kraft paper doesn’t stand up to a lot of erasing!

Autumn leaves washi tape - ombre
This style of calendar page is completely new for me but I just how it looks with the three different coloured squares. I usually have a separate page for my habit trackers but I’ve not been filling them in as much as usual recently so I opted to add a few key ones to my calendar page instead. As I mentioned, I’m trying to keep each month to a coloured section in my Neapolitan journal and I needed to save space!

It actually didn’t take as long as I thought to cut out all these squares!
I appreciate that these next pages are a bit niche, but I’m sure I’m not the only one who keeps a timesheet and thought they were worth including. While the spreads themselves are definitely more functional than cute, I love that separating sections of the page with a piece of coloured paper rather than a line brightens the whole page up! If you watched my Instagram reel, you might have noticed that I went through and added a lot more washi tape to my spreads as I just love how it looks with these papers!

I freelance for Untld Project, an independent PR and marketing agency specialising in small creative businesses
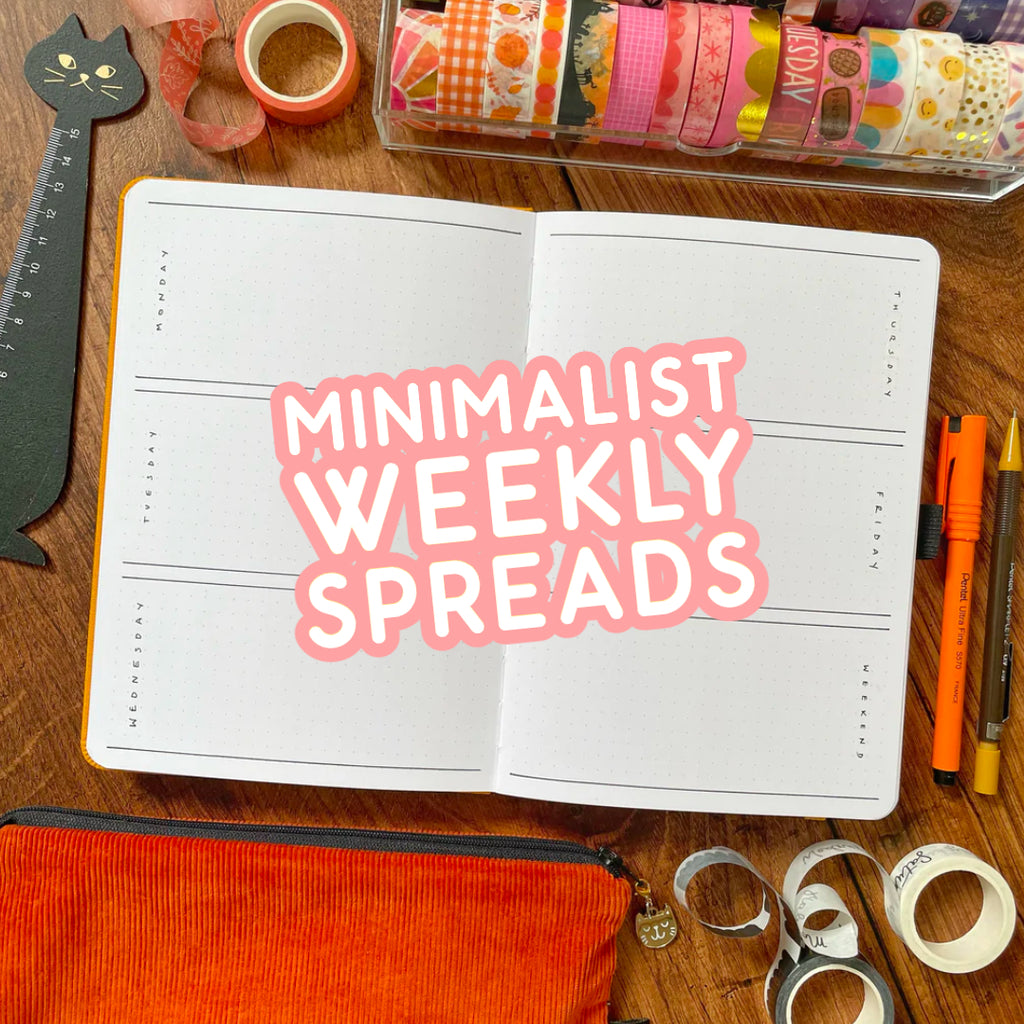
This has been my go-to weekly spread layout for a while now. I find it so helpful to add birthdays, meeting and deadlines to the daily boxes on the left, and keep a master to do list on the right. I usually divide this up into tasks that need to be completed this week, next week and miscellaneous life admin. My weekly spreads are usually quite plain so it was nice to add a little splash of colour!

If you’re thinking “oh wow, that washi really does coordinate perfectly”, it’s because Nikki used exactly the same colours for both! We love a bit of matchy matchy!
I usually set my weekly spreads up the weekend before but I wanted to show a couple of ways to incorporate the papers. If you’d like to see even more ways to use coloured dot grid paper in your bullet journal spreads, check out this blog post! I just flicked back through my bullet journals and realised I’ve been using exclusively this layout since October 2021 so it was definitely time to mix it up! I love how Nikki adds torn sections of the papers to her spreads (more on that shortly) so I used this idea to separate the days of the week.

I used the same mis-matched lettering as my cover page
This is a pretty plain spread which is ideal if you need more planning room, but you could also add doodles, stickers or stamps for a bit more interest. I was creating this while filming a reel which is always a bit nerve-wracking so I kept it simple!

Reader, I went back and added these stickers after Nikki mentioned using them in her September spreads!
Ok so I’m definitely biased towards the autumnal dot grid set, but it would be remiss of me not to mention the other colours. There’s also a botanical set which contains three gorgeous shades of green, and this absolutely stunning rainbow ombre pad!

Forest, Avocado and Jade: Which is your favourite?
The observant among you may recognise the green papers from Nikki’s August spreads. You can see her full set up in her Plan With Me YouTube video here. The green papers co-ordinate beautifully with these cute blob page markers!

The Tombow Mono Glue Roller is so handy for sticking papers in!
…and last but by no means least, this incredible rainbow ombre pad! I’m really looking forward to incorporating this into a bullet journal theme soon, but I couldn’t resist creating a bonus cover page when I realised how much this section of the pad looked like a sunset! I cut the window frame from a page of blackout paper, and added a brush-lettered title. I’m still getting to grips with brush lettering!

I used the medium Sakura Pigma brush pen
These papers can be used for so much more than bullet journaling! As they’re one-sided, they’re great for origami, and I couldn’t resist giving these DIY paper palm leaves a go. The dot grid turned out to be a real help here as the instructions call for evenly spaced folds, which I would have been hopeless at creating by eye! I printed the pattern pieces out at 50% to ensure they fitted on the A5 dot grid pads.

I used mint grid washi tape to hold it together at the base, and wrap a piece of wire for the stem
I hope that’s given you a little inspiration for how to incorporate Nikki’s gorgeous dot grid pads into your journal and beyond! Please tag @nikkissupplystore on Instagram, where you can find heaps more journaling and stationery inspiration. You can also follow me, @joy.margot, for more craft content.