8 Cosy Spooky Papercrafts to Try This Halloween

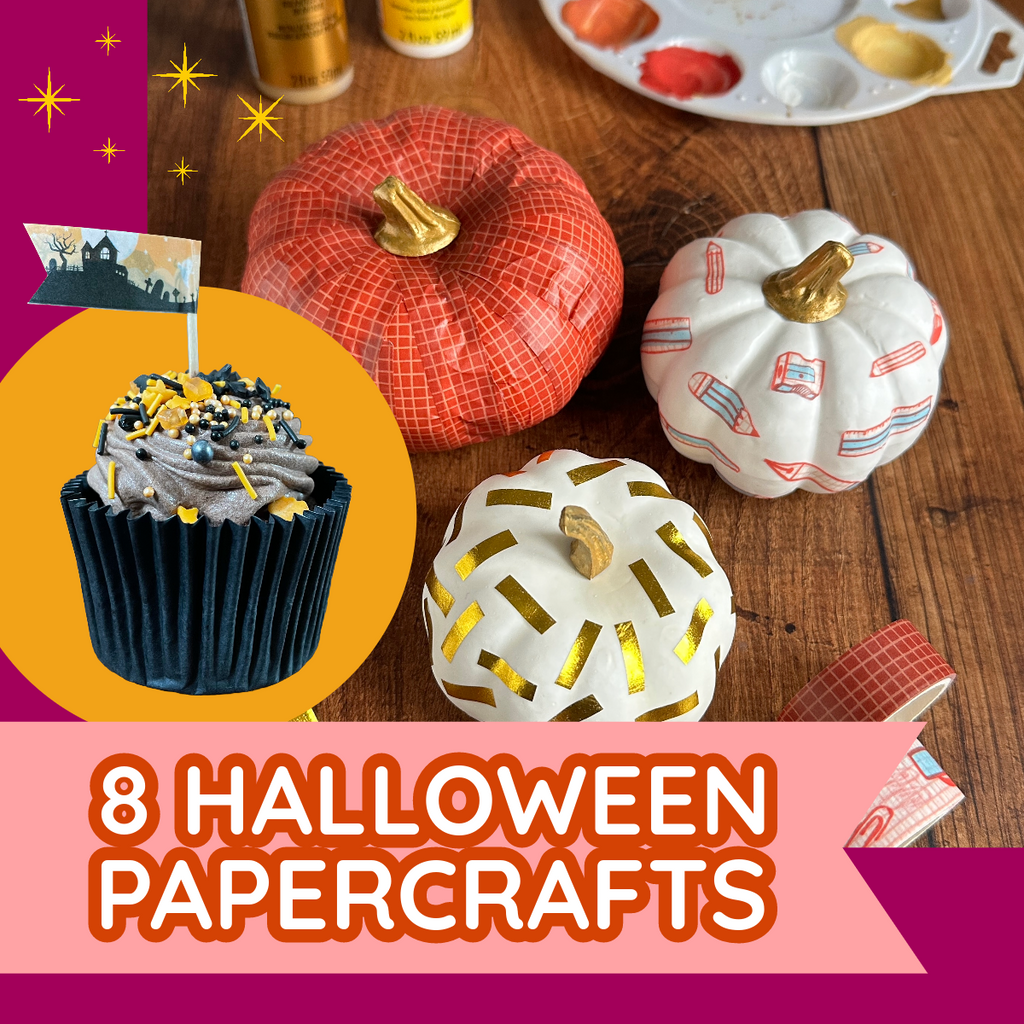
As I mentioned in my last blog post, Nikki and I are both BIG fans of Halloween! Nothing inspires me to get creative quite like spooky season and I’ve been crafting up a storm recently. I’ve rounded up a few fun autumnal activities to get you in the mood, so grab your washi tape and let’s get spooky…
Three Ways to Decorate Pumpkins with Washi Tape
Like most stationery fans, I’ve got a pretty hefty supply of washi tape and love finding new ways to use it. If your stash is looking a little low, we’ve still got quite a few designs reduced to clear in our Biggest Ever Washi Tape Sale!
I used mini artificial pumpkins for these crafts as pumpkins were sadly not available in the shops at the time of writing, but you could use real pumpkins if you prefer. If you’re using artificial ones, I’d recommend something with a smooth surface rather than velvet-covered or papier-mâché.

My pumpkins had ugly but removable plastic stalks, so I took them out and gave them a lick of paint first. I used the Folk Art Acrylic in 658 Antique Gold I had left over from faux-gilding one of my journals for this blog post.
Washi Tape Covered Pumpkins
You will need:
- Pumpkin (real or artificial)
- Paint for stalk (optional)
- Washi tape
- PVA glue or sealant such as Mod Podge
- Foam brush or paint brush
The removable stalks came in particularly handy for this make as the re-inserted stalk hid the messy ends of washi tape at the top.

Wrap strips of washi tape from the top to the base. I found it easier to start with the outward bumps. (Do they have a proper name??)
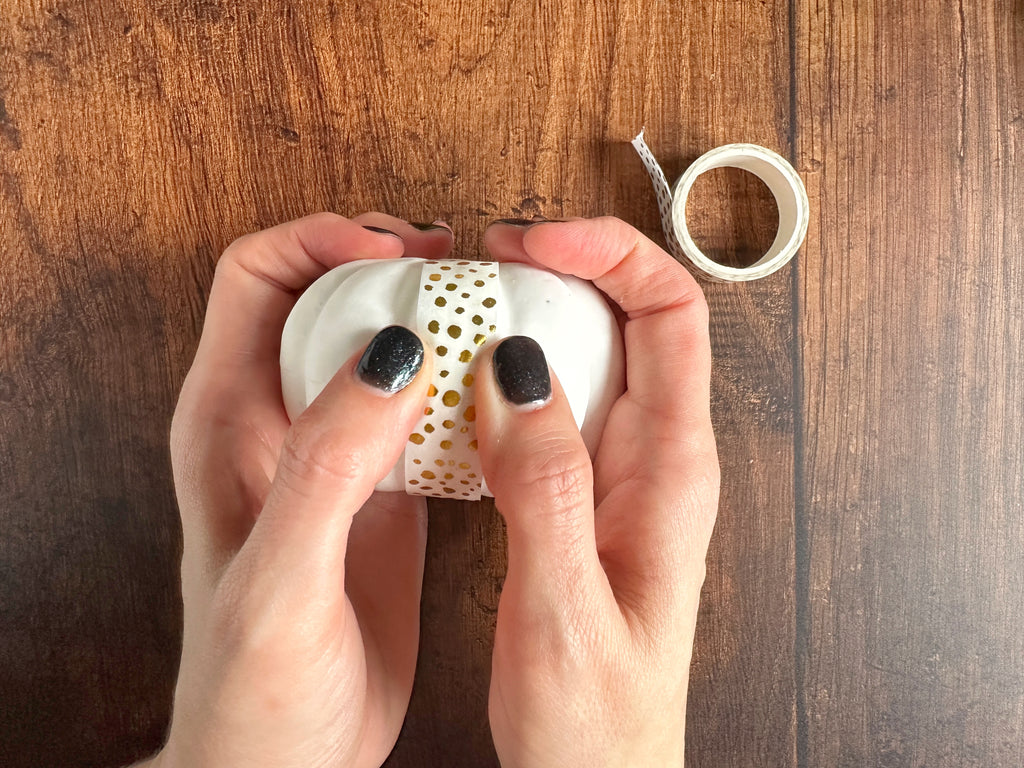
After you’ve stuck each strip down, smooth it around the bump with your thumbs.

Next, move on to the inward dips, smoothing as you go. I didn't find that I could get this Golden Dots Washi Tape as smooth as non-metallic washi tapes but I still think it looks cute!

Once covered, apply a layer of glue or sealant, especially around the ends. I used a small foam brush for this, but a regular paint brush would work fine too. Allow the glue to dry completely, and return the stalk to your pumpkin.
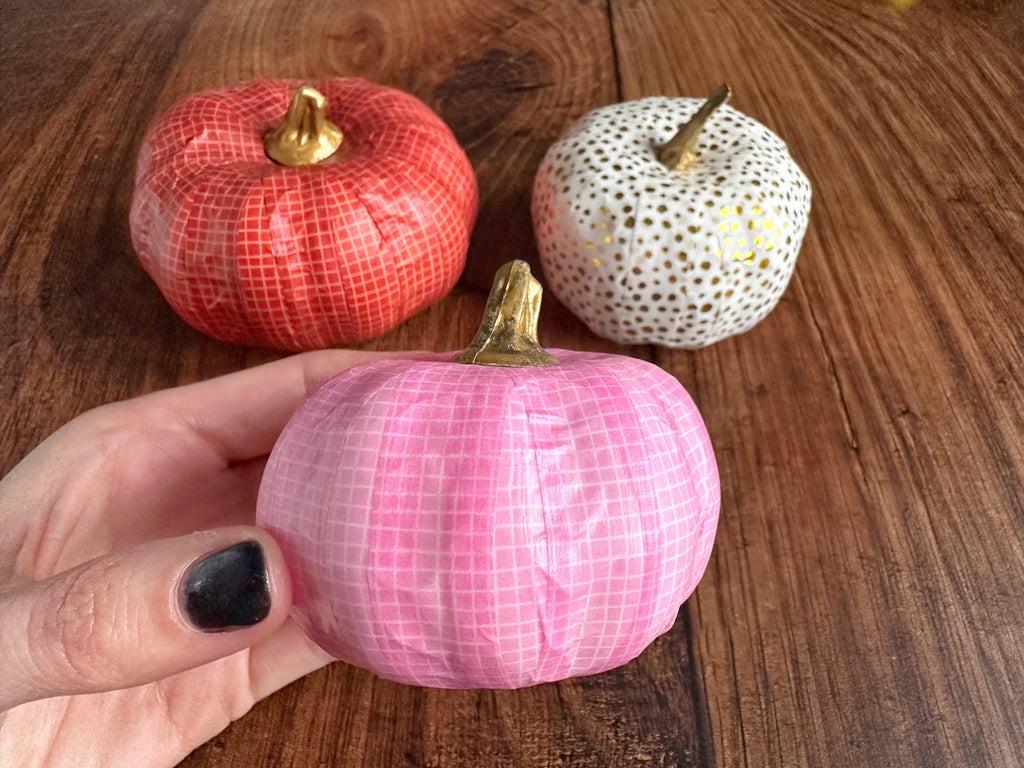
…and repeat until you have a whole army of washi pumpkins! This is a really fun way to create a set of pumpkins that matches your décor, especially if it’s a hard-to-find pumpkin colour like blue or purple.
Washi Tape Confetti Pumpkins
You will need:
- Pumpkin (real or artificial)
- Paint for stalk (optional)
- Washi tape
- Scissors
This is a lovely quick and easy DIY but it looks super effective! Just snip a bunch of little strips of washi and stick them onto your pumpkin in a confetti-like pattern. As I was using mini pumpkins, I used the 15mm width of the washi tape as the length, and cut my strips approx. 4mm wide. If you’re decorating a larger pumpkin, you may want to cut larger strips.

I used our Metallic Gold Washi Tape which I think worked particularly well but you could use a mix of colours, or make some to match your washi covered pumpkins as above. You could also vary how you arrange the strips and have them more concentrated at the base of the pumpkin to create an ombre or falling confetti effect.

You could seal the tape with a glue/sealant as above, but my strips felt pretty secure and I liked having the option to remove them if I fancy using a different tape next year!
Washi Tape Sticker Pumpkins
You will need:
- Pumpkin (real or artificial)
- Paint for stalk (optional)
- Washi tape
- Scissors - I used teeny embroidery scissors for this!
This idea was inspired by the amazing gift wrap Nikki created from her Biscuits Kraft Paper Parcel Tape for our Recyclable Gift Wrap Ideas blog post last Christmas. I’d planned to decorate a pumpkin with stickers, but didn’t have any quite small enough for my mini pumpkins. Enter: Tiny washi stickers!

I cut around the stationery designs on our Old School Vibes Washi Tape and used them as stickers to decorate one of my mini pumpkins.

I used my Mod Podge and foam brush to seal the surface as I wanted to make sure my designs lasted, but you could leave it un-sealed if you wanted to change up your design in the future.
Painted Pumpkins Using Gouache and Posca Pens
Last year I came to the slightly disappointing realisation that I don’t actually like carving pumpkins. I like the thought of carving pumpkins, and I like the finished result but the whole process is infinitely messier, stinkier and more difficult than I remember! This year, I’m all about no-carve pumpkins.

Now, painting is not exactly my strong suit so I decided to tentatively dip my toe into the world of pumpkin painting with these mini papier-mâché pumpkins from Hobbycraft. Like all good crafters, I turned to Pinterest for a little inspiration. The sprinkle doughnuts caught my eye, and more importantly, looked very achievable so I decided to start there! I used gouache for the base coat of my doughnut pumpkin, painting the bottom half beige and the top half white, then I added sprinkles with lilac, aqua green and light pink Posca Pens.

Alas I’m not totally convinced that my pumpkin is giving doughnut thanks to the dimensions but my neighbour’s daughter told me it looked like a cupcake and that’s good enough for me!
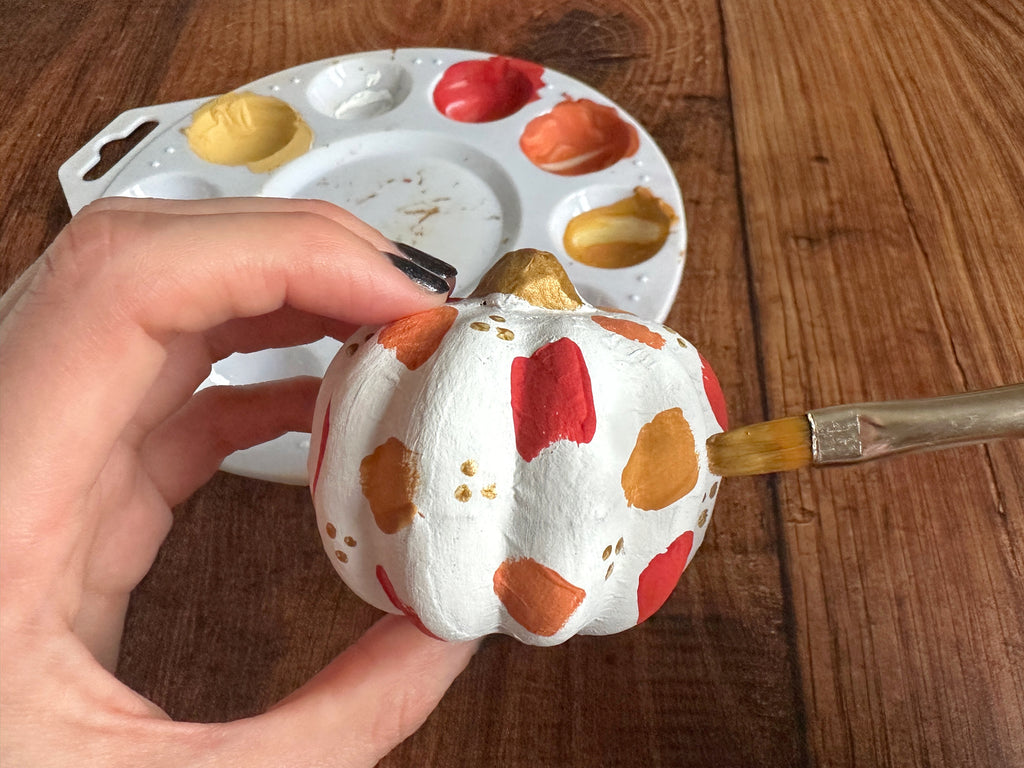
Next, I went for a more free-form painterly design and daubed strokes of red, orange and mustard gouache on with a flat paintbrush. I liked the effect, but felt it was missing something and added a few dots of gold with my Folk Art Acrylic paint. I also painted the stem gold. It’s a bit rough and ready but I actually really like the idea of this one and may try it on a larger pumpkin!
Washi Tape Nail Art
Here's one from the archives! I love nail art but am pretty terrible at it so I love using washi tape to add a bit of flair to my manicure. When I shared this in 2021, I used a coat of clear nail varnish above and below the washi tape, but alas it didn’t last very long.
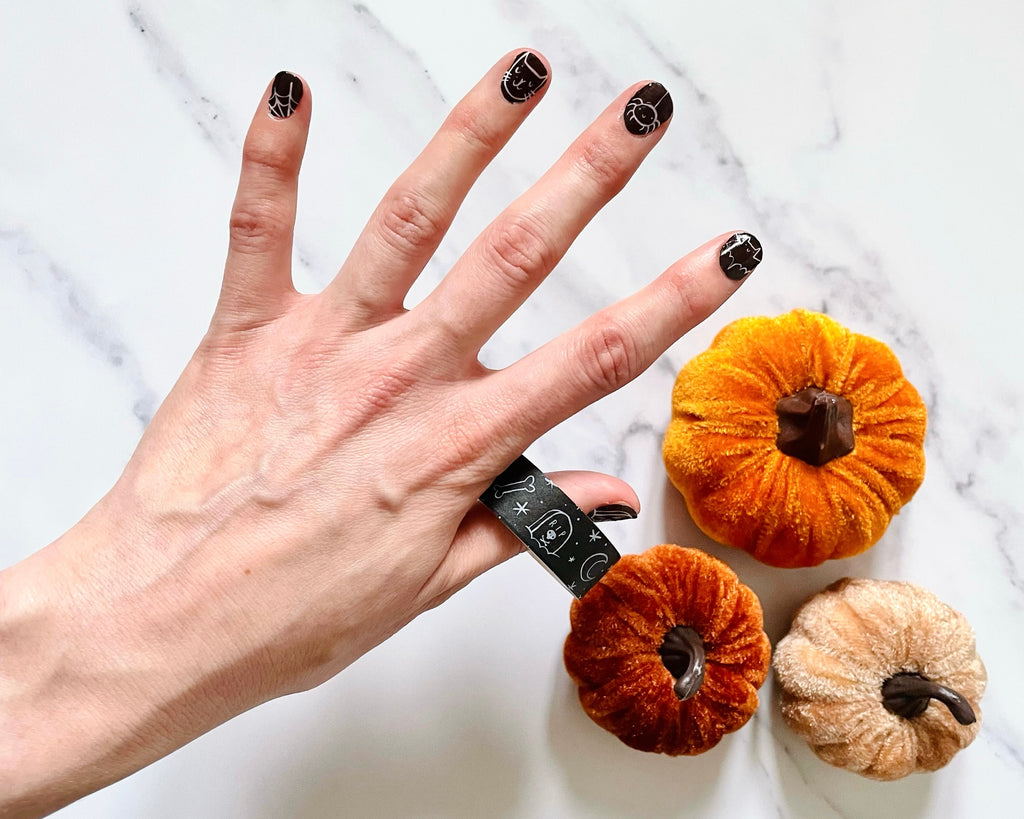
Last year, I managed to get a slightly more long-lasting wash tape manicure with my UV gel lamp. First, I cut a piece of washi tape slightly smaller than my nail. It’s important that the washi doesn’t go all the way to the edge of your nail, as you want to create a seal around the edge with gel polish.
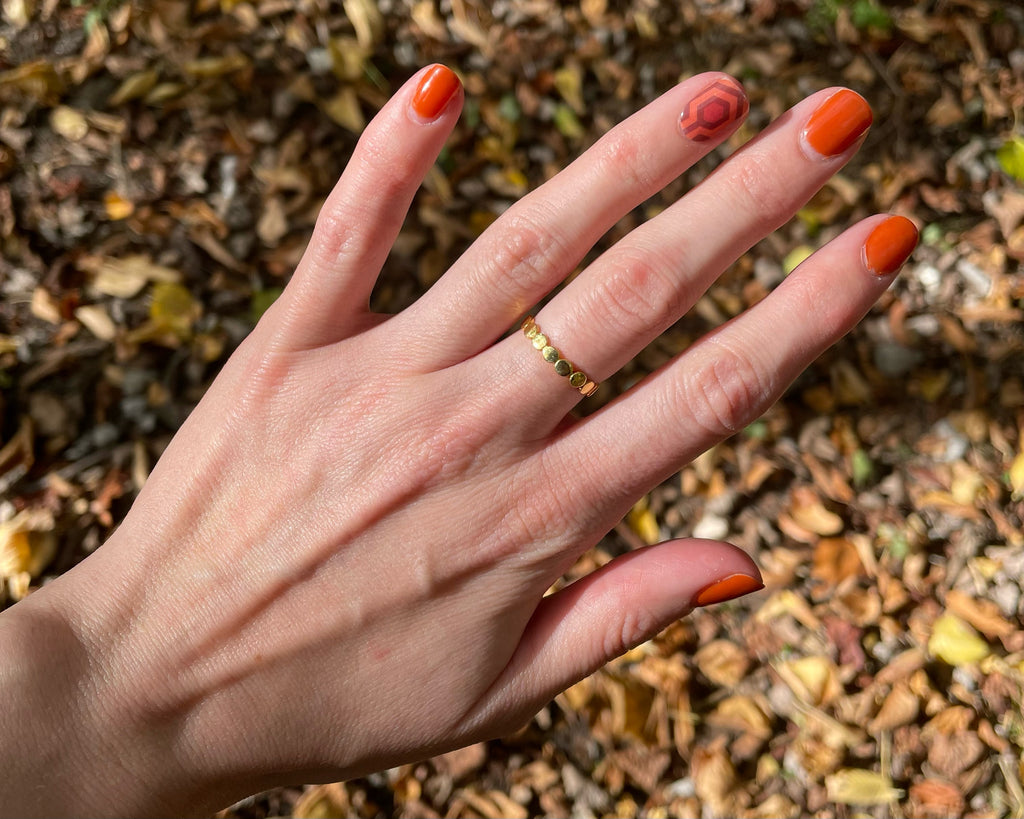
Apply a layer of base coat, as per your nail lamp’s instructions. Add the piece of washi tape to your nail and apply top coat, ensuring that it completely covers the washi and creates a seal around the edge. Voila!
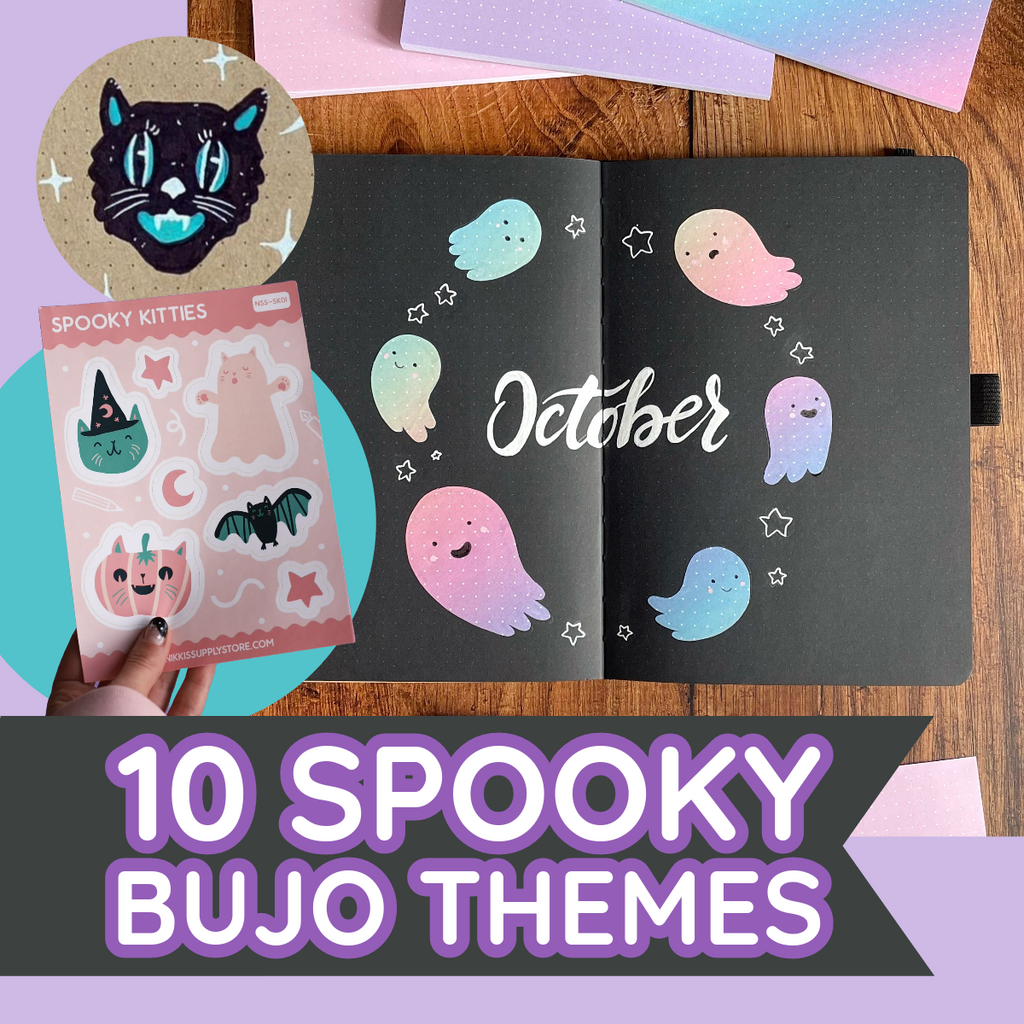
Free Halloween Printables for Your Bullet Journal
You may have seen these Pastel Ghost Printables in my last blog post, but I thought they deserved a second spot here, as they can be used for so much more than bullet journaling! Why not turn them into cake toppers or a garland or use them to decorate gifts and mail? Alternatively, you could print on white paper and use it as a colouring sheet.

To print on my home printer, I downloaded the file, opened it in Adobe Acrobat, adjusted my printer tray to hold A5 paper, and made sure I selected A5 in the printer settings. As some top-loading printers will print onto a landscape sheet of A5 without needed to tweak the settings, we’ve also created a landscape version.
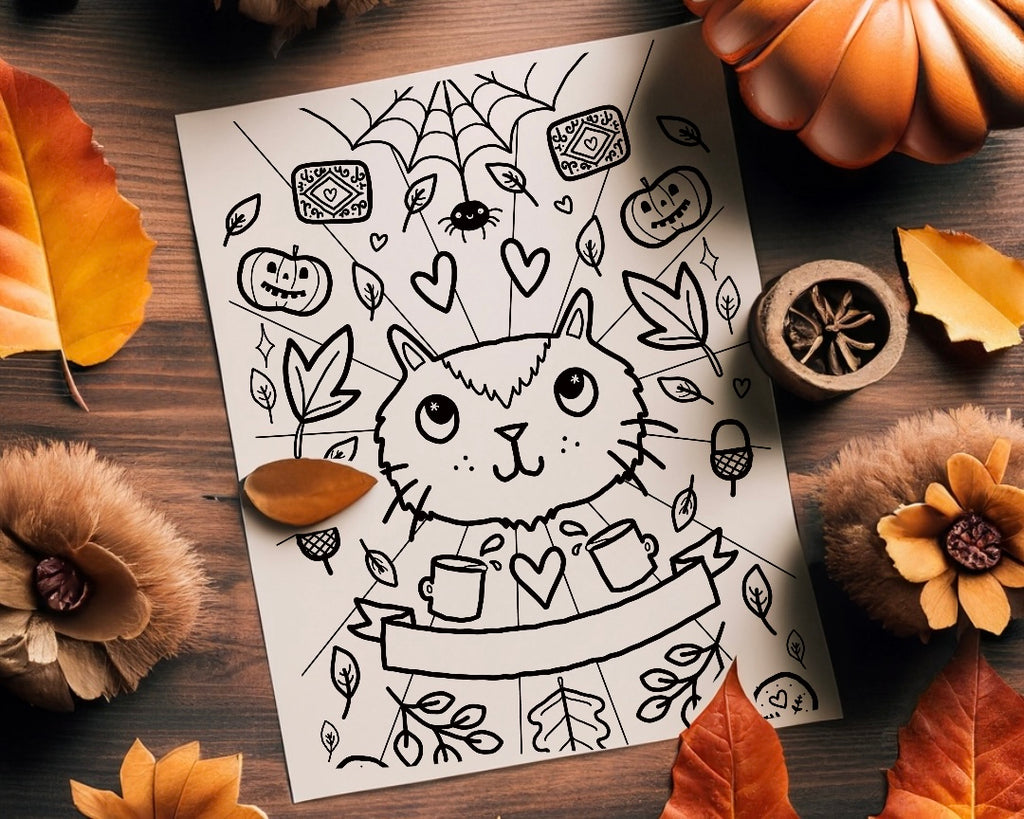
Nikki also created a free printable Halloween colouring sheet which combines all of her favourite things: Cats, autumn, tea and biscuits! We’d love to see your coloured versions so don’t forgot to share them on Instagram and tag @NikkisSupplyStore and #NikkisSupplyStore!
Speedy Halloween Cake Toppers with Washi Tape & Stickers
I’m a big fan of a sweet treat, especially if its pumpkin flavoured! In 2021, I made these cute washi tape cupcake flags by folding a strip of washi tape around a cocktail stick, and snipping it into a flag shape. This could be a great way to label different flavours of cupcakes or allergens at a buffet or party!

These days, I’m more of a loaf cake gal so I baked a pumpkin spice banana bread (recipe below), and made some toppers from our Spooky Kitties Sticker Sheet. Obviously, these could work for cupcakes too, but I particularly liked how they looked all together.

You will need:
- A5 Sticker Sheet - Spooky Kitties
- Scissors
- Card
- Cocktail sticks
- Washi tape

Stick your stickers onto a sheet of card. Cut around the shapes, either following around the kiss-cut edge of the sticker, or cutting closer to the design if preferred.

Use washi tape to affix a cocktail stick to the back.
Vegan Pumpkin Spice Banana Bread Recipe
This recipe is an adaptation of Simple Veganista’s Vegan Banana Bread recipe. I made their Pumpkin Loaf last year but wasn’t totally sold on the texture, so I decided to tweak the banana bread recipe instead as it’s my go-to and I make at least one a month!
Ingredients
- 210g plain flour*
- 1 tsp baking powder
- 1 tsp baking soda
- 1 tsp cinnamon
- 1 tsp ginger
- 1 tsp ground mixed spice
- 90g-150g coconut sugar**
- Pinch of salt
- 70g oil (I use vegetable)
- 1 tsp vanilla extract
- 2 over ripe bananas
- ½ can pumpkin puree
- 30-50ml dairy free milk, if needed (I use oat)
*I haven't personally baked this with gluten-free flour blend, but the original recipe suggests it can be subbed and offers guidance on quantities in the notes section
**Coconut sugar is my preferred sweetener as it adds a lovely rich caramel flavour and my neurodivergent brain tolerates it better than refined sugar, but you could use whatever you have to hand. 90g produces a very lightly-sweetened loaf which I like as I have this as a mid-morning snack but add more if you like a sweeter cake!
Method
- Pre-heat oven to 175°C and line a loaf tin with baking paper
- Mash bananas and mix with pumpkin puree
- Add oil, sugar and vanilla extract and stir to combine
- Add flour, raising agents and spices and mix until just combined
- If your mixture is dry, add a little milk
- Spoon into your tin, and level the top
- Bake for 50 mins - 1 hour, rotating halfway through if your oven cooks as unevenly as mine does!
- Cool with the tin on its side for 10 mins to prevent sinking. I can’t remember where I learned this tip but it is a banana bread saviour!
- Remove from the tin and allow to cool completely before slicing

I hope this post has encouraged you to get crafty this October! If you’ve been inspired by any of the suggestions in this post, we’d love to see! Please tag @nikkissupplystore and #NikkisSupplyStore on Instagram for a chance to be featured in our newsletter or a future blog post. You can also follow me, @joy.margot, for more craft content and pictures of my cat, Juniper.