Decorating and Protecting Your Bullet Journal or Sketchbook


Many of us spend a lot of time decorating the inside of our bullet journals, but what about the outside? Maybe you don’t like the design on the cover, perhaps you got a mark on it that you want to cover up or maybe you just feel like jazzing it up a little? Whatever the reason, I hope this blog post will help give you a little inspiration, and don’t panic if you’re “not an artist” as it’s definitely not a requirement!
I’ll also be touching on a couple of ways to protect your journal to avoid stains and marks before they happen because prevention is definitely better than a cure.
Can you paint a bullet journal or sketchbook cover?
Absolutely! It’s a great way to personalise your bullet journal or sketchbook as well as covering up any pesky marks or stains.

I used Posca pens to decorate this Royal Talens mini square sketchbook, and went for a simple squiggle design which I carried over to the back cover. Fun fact about using paint pens on a smooth hardback sketchbook: You can wipe the design off if you’re not happy with it! A baby wipe will take it off if it’s freshly applied, but you may need to use a dab of cream cleaner if it’s started to dry.

I let my design dry thoroughly before turning it over to do the back cover and I also added a layer of clear spray varnish to keep my design in place. You may not need to do this if your sketchbook is going to live at home, but I like to take this mini one out and about with me and I didn’t think the design would last long in my bag.

Now I’ve unlocked the journal painting door, I’m excited to have a go with my new gouache paints, and may even summon the courage to have a go at painting one of my Archer & Olive linen covers. There’s some great advice in this blog post about using paint on an Archer & Olive linen journal cover, so definitely check that out if you fancy trying it out.
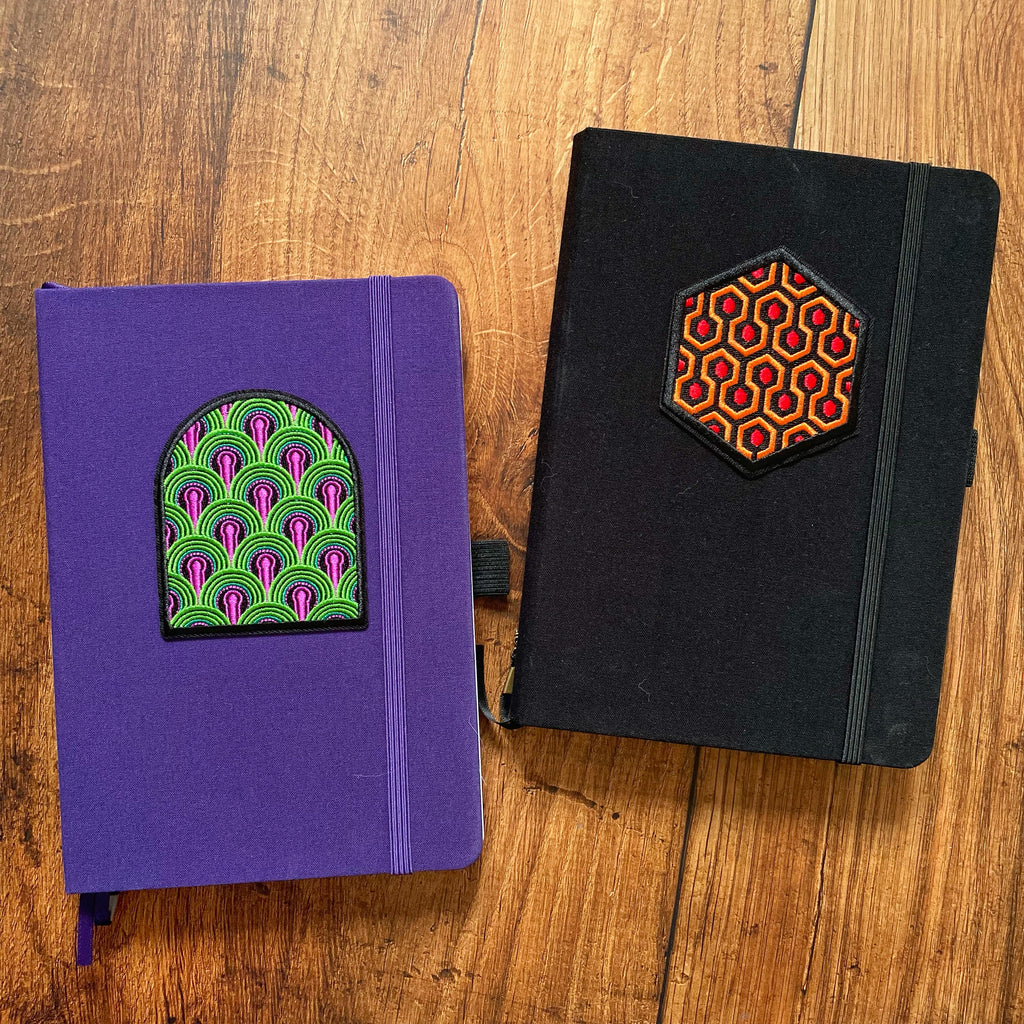
Can you use iron-on patches on a linen or fabric journal cover?
You sure can! I attached these fun Shining-inspired patches from Oddball Pins (Nikki’s husband!) to two of my linen cover journals.
1. Remove your chosen patch from its backing card, ensuring you peel off any of the glue blob that's held it in place.
2. Move your elastic closure to the inside to avoid accidentally catching it with your iron or heat press.
3. Place your patch on your journal cover, measuring to check that it's central if you're anything like me!
4. Cover the whole journal with a pressing cloth, a piece of scrap fabric or a sheet of baking paper or greaseproof paper. You can also use clean tea towels to surround your patch to build an extra layer of heat protection for the surrounding area.
5. Set your iron or heat press to medium-high. If you're using an iron, ensure that its not set to steam mode and that all water has been emptied. Give that steam button a few presses to make sure that none has remained - moisture is not invited to this patch party!
6. Press your patch for 60 seconds ensuring that all areas of the patch have been pressed and taking care to avoid the surrounding area of your journal as much as possible.
7. To really make sure the patch adhesive sticks as it cools, you can stack a pile of heavy books on top for a few minutes or press it down with your hands, taking care not to shift it around.
8. Check that your patch has adhered and repeat the above steps as necessary.
If your patch doesn’t have an iron-on backing, you could use fabric glue to attach it to a fabric cover.
You definitely don’t want to iron a patch onto a non-fabric cover as this may cause the cover to bubble or melt, but you could use an all-purpose glue or superglue to attach a patch to a smooth hardcover.
Can you use vinyl on a linen cover journal or notebook?
You guessed it: You can! I’d recommend using iron-on - also known as heat transfer vinyl - on fabric covers and permanent self-adhesive vinyl on smooth hardback journal covers. I cut this cute J monogram with my Cricut Joy to decorate my Bruynzeel bullet journal, and I love how fancy it looks!

I also cut the dates for my previous bullet journals so I could keep track of which was which as so many of them are black. While it would arguably make sense to stick these on the spines, I haven’t had much luck with this in the past, and I quite like the look of the naked spines on a bookcase!

The technique for applying iron-on vinyl is much the same as iron-on patches: You want to use a medium heat, and apply it in short bursts up to a maximum of 30 seconds to avoid discolouring the linen cover of your journal.
If you don’t have a Cricut, Silhouette, Brother Scan n Cut or similar, there are lots of businesses on Etsy who offer custom vinyl designs.
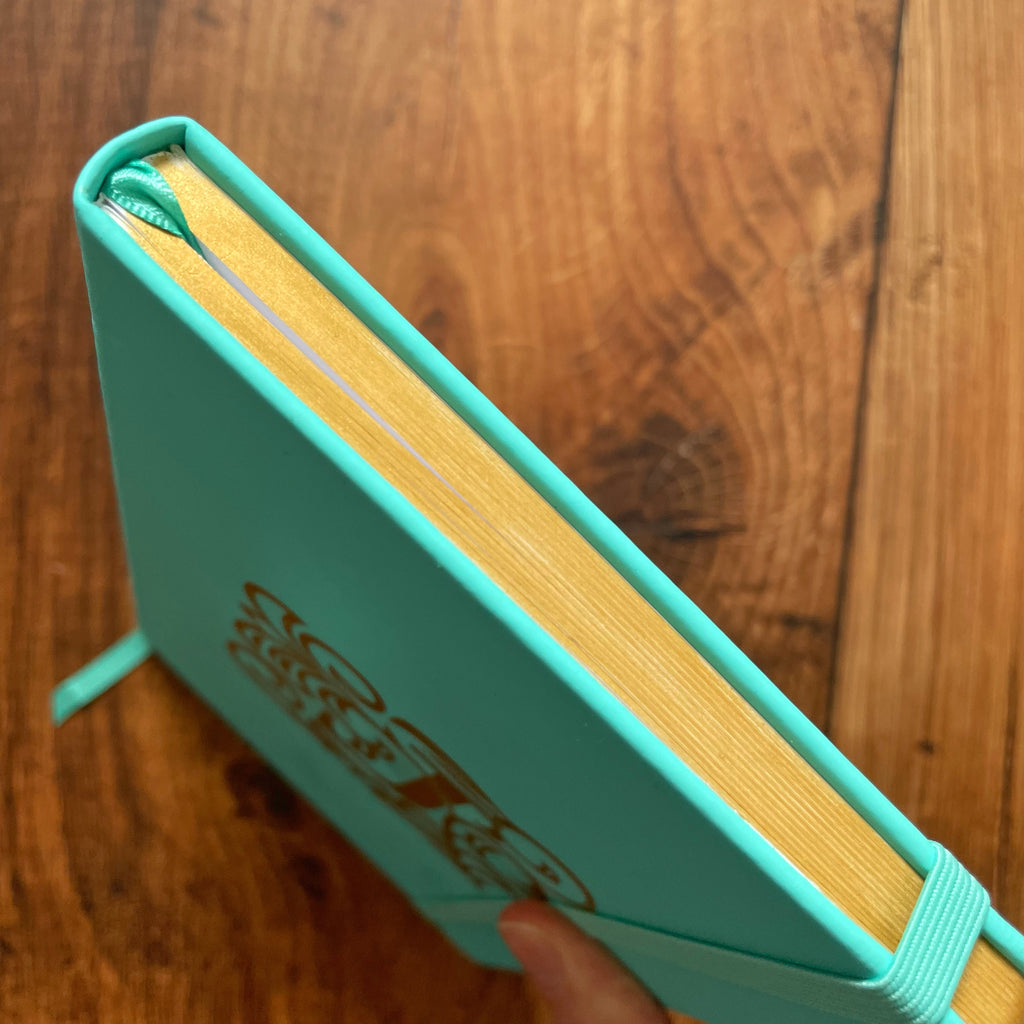
How do I gild the edges of my journal?
Gilding is the ancient decorative art of applying a thin coating of gold leaf to the edges of book pages. The real deal is time consuming, expensive and requires a lot of equipment, but thankfully there are a few things you can try at home which will give a similar effect.
I watched this video by Sea Lemon and opted for the acrylic paint approach. Here’s a few tips from the video and my own attempt:
- Choose an opaque non-toxic paint - I went with Folk Art in 658 Antique Gold
- If you’re using a finished journal or book, add masking tape around the edges of the cover
- Use a clamp or several heavy books to make sure your journal’s pages are tightly pressed together - I don’t think I used enough!
- Use a dry brush and apply smooth, even strokes. You’re aiming for one coat as a second coat increases the chances of pages sticking together
Mine is a little messy as painting is definitely not my strong suit, my pages weren’t completely flush and I was attempting to video the process, but it’s still surprisingly effective and I’ll definitely be giving this another crack! I’d recommend using a brand-new journal if possible as I missed a couple of spots where the edge of my pages weren’t flush, and the paint has seeped between the pages a little.
Using stickers to decorate your bullet journal cover
Naturally I couldn’t get through this blog post without talking about one of my favourite stationery items: STICKERS. If you’re anything like me, you’ve got a huge stash of them that you’re too afraid to stick anywhere in case it's not the *perfect* place but I’m here to say: Life is short, use the damn stickers! This blog post gave me the push I needed to finally use these Pipsticks Midnight Meow Stickers I’ve been hoarding for at least a year, and I couldn’t be happier! They look so cute on my Sakura Blackout Sketchbook, and I’m so glad I get to enjoy them rather than leaving them languishing in a drawer.

As much as I love an Archer & Olive linen covers, one of the most annoying things about them is that you can’t use stickers on them, right? WRONG! Enter clear bullet journal covers, which turn any journal into a stickerable surface! I’d recommend sticking to vinyl, metallic and coated stickers on the outside of a journal, as paper ones won’t last long if your journal is subject to a lot of wear and tear.
Protecting your bullet journal with a clear plastic cover
Our clear bullet journal covers are a really affordable way to protect your journal and keep it looking pristine. They’re an absolute must for Archer & Olive linen covers which seem to be something of a dirt magnet but also have beautiful embossed designs on the front which it’s such a shame to cover!

We sell four different sizes - A5, B5, A6 and B6 - and the design makes them adjustable to fit a range of thicknesses of journals. Because of this, it can be a little confusing to put one on for the first time but here’s a little how-to guide, complete with instructions for cutting a hole for your pen loop:
1. Unless you’re using a box-fresh journal, I’d recommend giving it a once-over with a lint roller to remove any dust, cat hair and other debris!
![]()
2. Next, pop the “pocket” over the front cover. It will be a snug fit so you want to ease it in gently and evenly to avoid popping a seam
3. Fold the cover around the back of your journal, smoothing it as you go, and tuck the loose end into the back of your journal
![]()
4. Use a paint pen or other wipeable implement to mark where your pen loop sits on the plastic cover
![]()
5. Unfold the cover and use a craft knife and cutting mat - or a pair of scissors will work in a pinch - to cut a slit for your pen loop. I like to make mine about 0.5-1mm thick to ensure that my loop fits through easily and sits neatly
![]()
6. Bend your back cover gently backwards and ease it through the two plastic straps on the back of the plastic cover
![]()
7. The thickness of your journal will affect where your elastic closure sits, but with Archer & Olive A5 and B5 journals, you’ll need to feed the elastic under both straps
![]()
8. Check the elastic closure isn't twisted!
![]()
9. Fold the loose end of the cover over, and feed it under the two straps and voila: A beautifully protected journal, ready for stickering!
You can also watch the full process over on the Nikki’s Supply Store YouTube channel.
If you have an unusual-sized bullet journal that won’t fit in one of our clear plastic covers, you could use clear plastic varnish spray or sticky back plastic - also known as tacky back - to protect your journal.
I hope that’s given you a little inspiration to get decorating! Why not bookmark this page so you refer back to it? If you’ve been inspired by any of the suggestions in this post, we’d love to see! Please tag @nikkissupplystore and #NikkisSupplyStore on Instagram, where you can find heaps more journaling and stationery inspiration. You can also follow me, @joy.margot, for more craft content and pictures of my cat, Juniper.