12 Creative Ways to Use Washi Tape in Your Bullet Journal

In honour of our Biggest Ever Washi Sale, I thought I’d round up 12 of my favourite creative ways to use washi tape in my bullet journal. No, I can’t believe I haven’t written this blog post already either! Whether you’ve just stocked up in our sale, are trying to work through your stash or just want to find some creative ways to decorate your bullet journal spreads, grab a cuppa, and let’s dive in…
Sidebar, if you’re looking for other fun ways to use washi tape, check out these blog posts from the archive:
Creating Washi Tape Art in Your Bullet Journal
I first came across this washi art technique via @jericaplans and her time-lapse videos are so satisfying to watch! Of course, I had to have a go myself and even though my craft knife wielding is nowhere near as smooth as Jerica’s, I still think it’s super effective and a fun way to colour an illustration. This is the first one I created for my cover page last May:

I chickened out of filming it as it was my first attempt, so I had another crack this morning so I could record it for a reel. It’s a little bit fiddly but really fun, and I don’t think the wobbliness detracts from the overall affect. Or so I’ll keep telling myself!
The key is not to press too hard or you risk cutting straight through the page. Washi is super thin and only needs a very light touch! You’ll need to use semi-transparent washi to ensure you can see your lines, so avoid dark, opaque or metallic washi tapes.

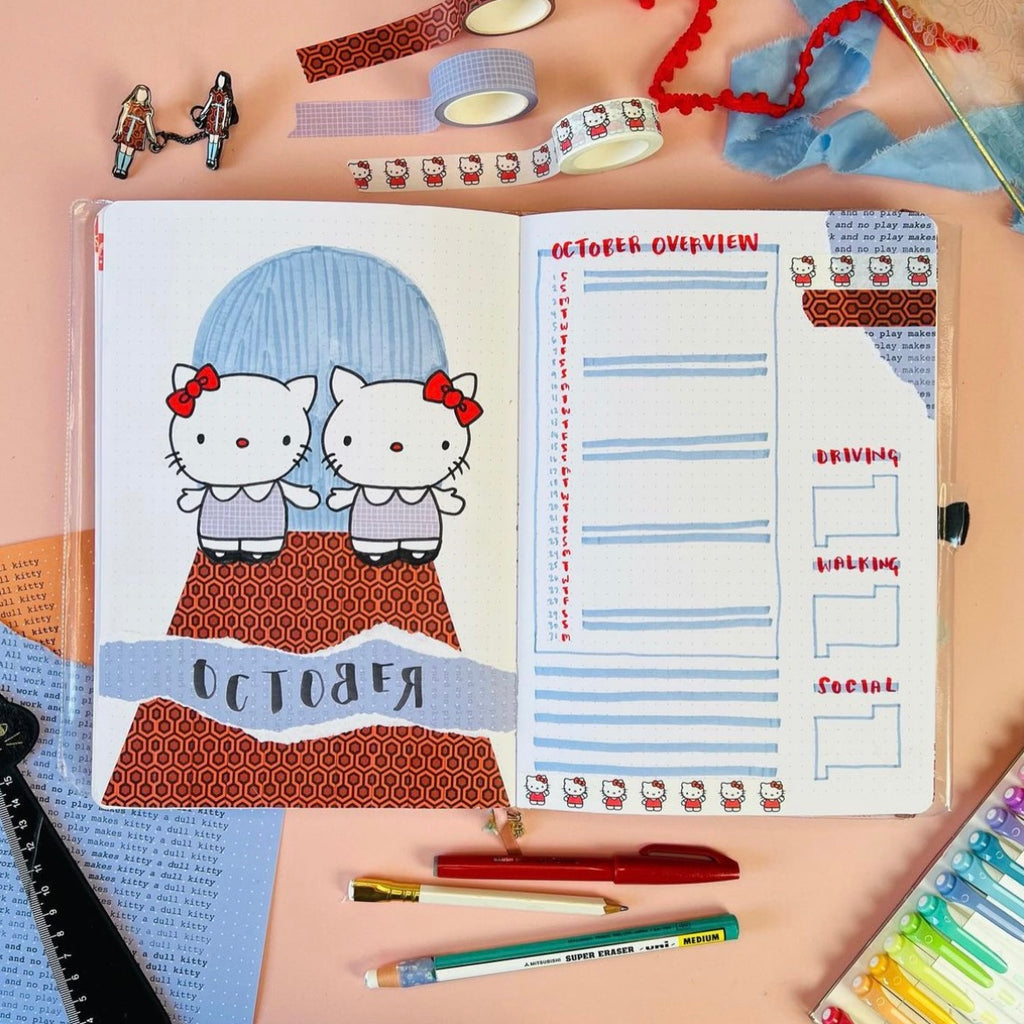
You can use it to fill every space in an illustration as Jerica tends to do, add colourful accents as I’ve done, or use it to add a particular pattern to your illustration, as Nikki did with her Shining-inspired cover page. You can watch the process in her YouTube video here.

How to Create Washi Lettering in Your Bullet Journal
Along the same lines as creating washi art, why not use washi tape to create some statement lettering in your bullet journal? You could use the same method as above and outline your lettering, overlay with washi and cut away the excess with a craft knife. Nikki used this method for her May cherry blossom cover page, which you can see in her YouTube video here.

If you don’t have a craft knife or don’t fancy using one, you could draw or print your letters on a separate sheet of paper, cover with washi then cut them out with scissors and glue them into your journal.
Alternatively, you can cut your letters out of the page using either a craft knife or scissors, then lay over a patch of washi as Nikki did with her September bullet journal cover page. You can see the YouTube tutorial here.

How to Avoid Lettering in your Bullet Journal
If you hate lettering (it’s me, hi, I’m the problem, it’s me) then why not use days of the week or months of the year washi in your bullet journal to lighten the lettering load and add a little uniformity to your spreads?

Shop days of the week washi tapes
Using Washi Tape as a Page Border in your Bullet Journal
This is one of my absolute favourite ways to use washi tape in my journal. It’s cute, it’s super speedy, and it adds a splash of colour or interest to an otherwise plain or text-heavy page. I like to use these around the edge of double-page spreads that will be filled in slowly over the course of the year so they don’t look so empty at first:

It’s a great way to divide up a double page that’s been used for two different spreads. This is also a really handy way to quickly be able to identify a page you use often when flipping through your journal.

Adding the Finishing Touch to Your Bullet Journal Spreads with Washi Tape
You know when you finish a spread that you’re pretty much happy with but it’s definitely missing that finishing touch? Spoiler alert: It’s almost always washi tape! I always have to play around with mine for a while before I’m happy with it, but I feel like Nikki is particularly good at using washi as the cherry on top her spreads.
This breakfast one she did in February is one of my all-time favourites and the mustard and dark red washi add a fun splash of colour to an uncharacteristically monochrome page:

I think this is a great example of how you can elevate a very minimalist spread with complimentary washi tapes. I would never have thought to pair black and rainbow together but it works so well!

Using Washi as a Page Divider in Your Bullet Journal
I love using washi tape to divide pages up for my weekly spreads. It’s a super speedy way to divide a page into six boxes:

Or you can use slim washi - or trim down a wider washi - to divide it into more sections. I find the neatest way to trim it down is to use a craft knife and cutting mat, which also means you can ensure it measures exactly 1 or 2 dot grid squares wide.

Using Washi Tape to Cover Mistakes in Your Bullet Journal
If you’re anything like me, you rarely create a bullet journal spread without a mistake or three! Thankfully, washi tape can be a super handy way to cover up mis-spelled words and lines that have ended up in the wrong place. I spent ages on my first collage-style spread only to realise that I’d written “August” instead of “September”. I covered it with a piece of peach pastel dot grid paper but it looked a bit out of place, then I found that adding washi tape around it made it look a little more intentional.

Using Washi Tape in a Bullet Journal Collage
Collage-style spreads are definitely not my strong suit and I’m so in awe of anyone that does them well, such as @ruthie.journals. Of course, washi tape is an integral part of any bullet journal collage, and I particularly loved this lilac spread Ruthie created using our dot grid pads and gingham, grid and cherry blossom washi tape:

Alternatively, you can make the entire collage out of washi tape! I had great fun weaving washi for this cover page, and you could even go as far as to fill the whole page with woven or striped washi tape!

How to Use Washi Tape as a Mood Tracker in Your Bullet Journal
If you use mood trackers spreads in your journal, why not use washi tape to complete them? This polaroid-inspired page was simple to set up but looks super effective when it’s all filled in. It also means it’s much easier to switch up if you change your mind about that day’s mood!
![]()
You know I’m all about the decorative choices, but I thought I should include a few practical uses too:
Adding Mementos to Your Bullet Journal with Washi Tape
Whether you’re adding photos to your regular journal or creating a separate travel journal with tickets and other mementos, using washi to attach them creates such a cute scrapbook effect. You can see a flip-through of Nikki’s New York travel journal here, and her Gibraltar pages here.


Adding Extra Pages to Your Bullet Journal with Washi Tape
As well as adding photos and notelets, you can also use washi tape to add extra pages or partial pages to your journal. This can be a really handy way to add extra days to your weeklies at the end of the month, or add in an extra to do list.

Creating Washi Tape Page Markers in Your Bullet Journal
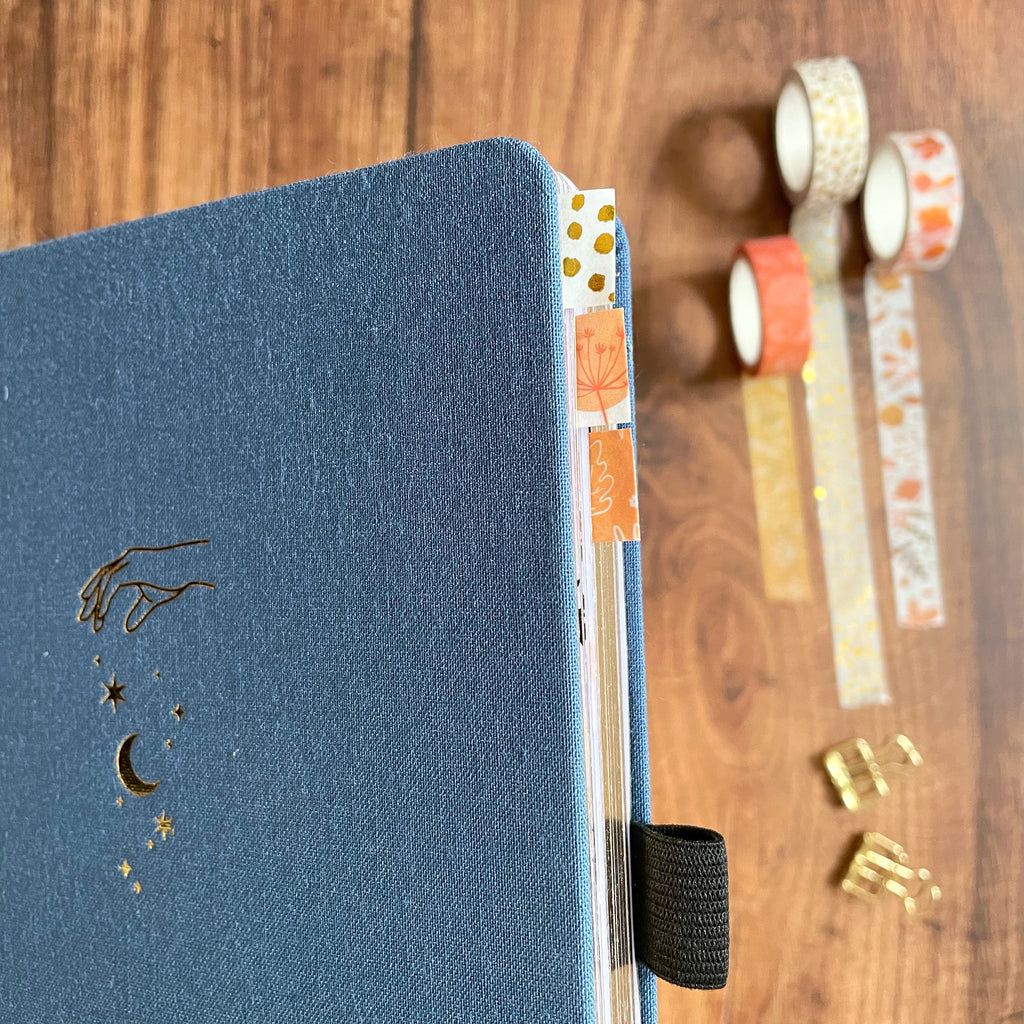
Page markers or tabs can be a super convenient way to jump to certain months or pages you use a lot and it’s so easy to make your own from washi. Just fold a piece of washi tape over the edge of a page - or place a strip down the whole page - and wrap over to the other side. You could even match it to a tape or colour scheme you’ve used that month.

Most of the washi tapes featured in this post are currently reduced to clear in our Biggest Ever Washi Sale so make sure you grab your favourites before they’re gone!
I hope that’s given you a little inspiration for including more washi tape into your journal! Why not bookmark this page so you can come back to it? If you’ve been inspired by any of the ideas in this post, we’d love to see! Please tag @nikkissupplystore and #NikkisSupplyStore on Instagram, where you can find heaps more journaling and stationery inspiration. You can also follow me, @joy.margot, for more craft and bookish content and pictures of my cat, Juniper.


Beth L —
These ideas are FANTASTIC! Thank you! : )